Platform updates from October, 30th
Discover ways to sort both versions of the campaign (Insight explorer vs. Line Item form), a template to facilitate POS downloads, more data in the Insights section, automatic capping and the ability to import multiple creations at once.
1. Possibility to differentiate campaigns created with Insight Explorer and campaigns created with Line Item form.
- Visual indication on campaign version: on RTB > Campaigns, you will see a tag on campaigns created with Insight Explorer.

- Filter on campaign version: on this same page, you can filter by campaigns created with Insight Explorer or campaigns created with the Line Item form.

2. Up button
Use the Up button during the setting of step 1 (Set up), 2 (Targeting), 3 (Buying) or 5 (Publish) of your line item to go back to the top of the window.

3. Template to facilitate the upload of POS by addresses
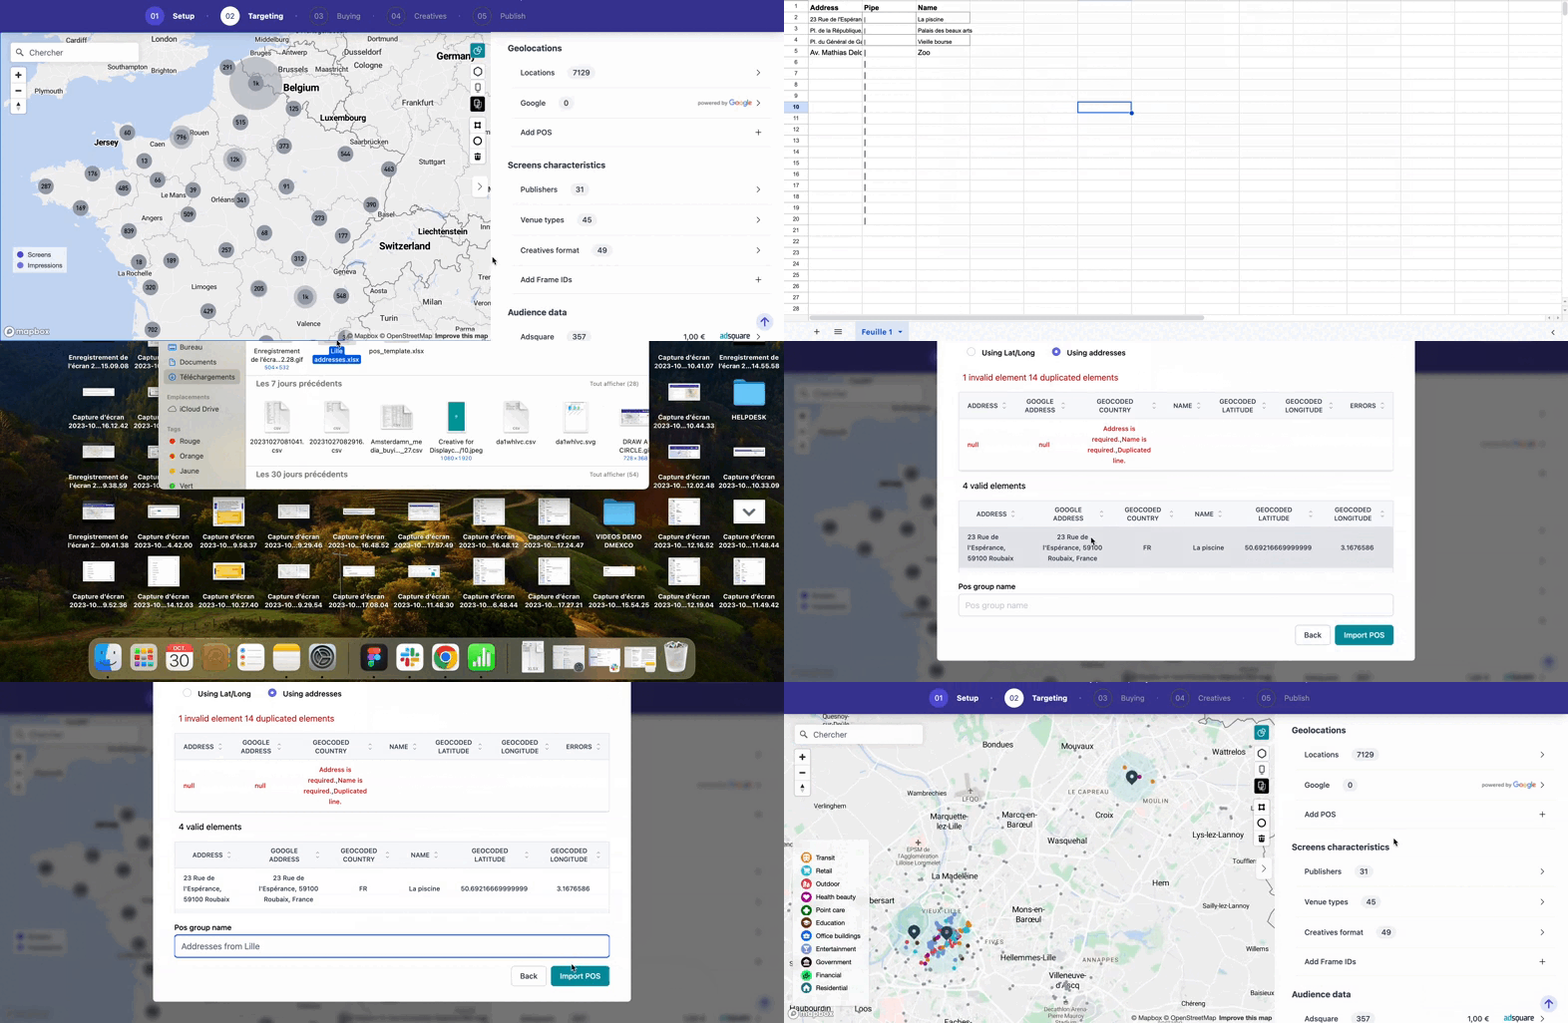
The Targeting step allows you to upload specific POS, either by Copy / pasting a list of coordinates, or using address and associated names.
This last option is now easier with the possibility to upload a template, enter the address in the first column and give the address a name in the third column.
When your template is complete, you can drag & drop it in the field of the pop-up window, like so:

Please note that the format accepted is .xlsx
4. Buying step
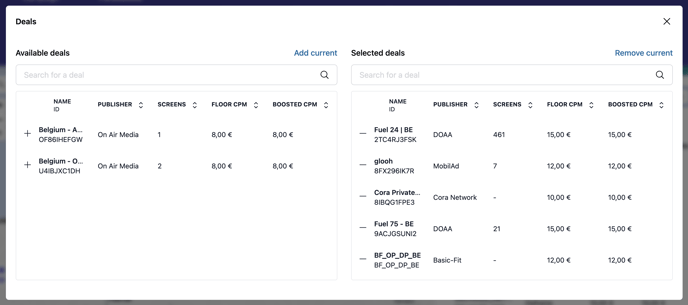
- Deals selection columns: + and - signs are now in the left side of each deal (better visualisation for smaller screens).

- Screens with no deals table and graph: at step 03, if you have a look at your Insights, we will find a new addition to this section, a graph Screens with no deals by venue types and a table Screens with no deal. You can also download both of these items.
- Automatic Capping: you can select this option so that our algorithm automatically calculates and updates both daily and hourly cappings of your Line Item.

5. Creatives bulk import
Select several lines to upload your creatives at once on a maximum number of screens:

